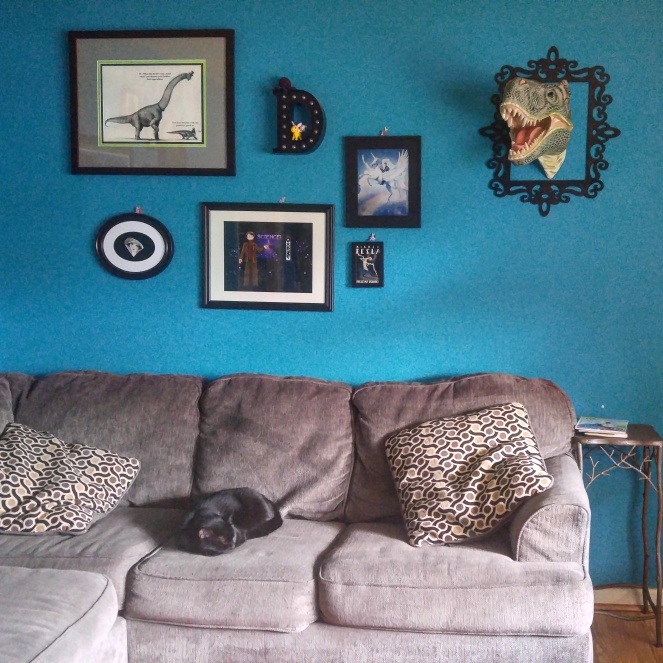
When we bought our living room couch, it came with it’s own ‘matching’ throw pillows like most couches do. Of course, they’re ugly as hell, but they come in handy for comfort so I never got rid of them.
I kept telling myself that eventually I’d replace them, but I could never bring myself to spend ten, fifteen, twenty dollars on a single pillow, especially when I need at least three for the sectional. Then I had a rare brilliant idea! I could make shames for them!
It’s such a good idea! It’d only cost me a few dollars, I could change them out as whenever I got tired of them. I could just take them off and wash them if they got dirty. I jetted down to Jo-Ann’s to pick out material and while browsing the isles of colorful bolts, I was struck with yet another brilliant idea!
HOLIDAY PILLOW SHAMS!!!
We all know I’m a sucker for kitsch, and I adore holiday decorations. Many who know me probably could have predicted I’d go this route before even I knew.
I bought two yards of each fabric on sale for $1.99/yd plus a 20% off coupon, so three sets of pillow shams cost me almost nothing. I wasn’t sure how I was going to do it, but I studied one of the shams from my bed to see how it was constructed and went to it. After making the Halloween ones and finding out that my method was successful, I thought I’d share how I did it.
The first thing I did was just lay the fabric out, folded over, to measure and sure enough it was just big enough for my pillow.


I cut the first one just a half inch beside the pillow. The next cut was about time and a half, for the back, then cut that piece in half. You want the back pieces bigger than the front, because they need to overlap.
The next step was to press and sew the seams on the back pieces. On a fabric like the sunflowers, it didn’t matter which side I put the seam on, but I had to pay attention on the Halloween fabric because I wanted the pattern to go in the same direction.
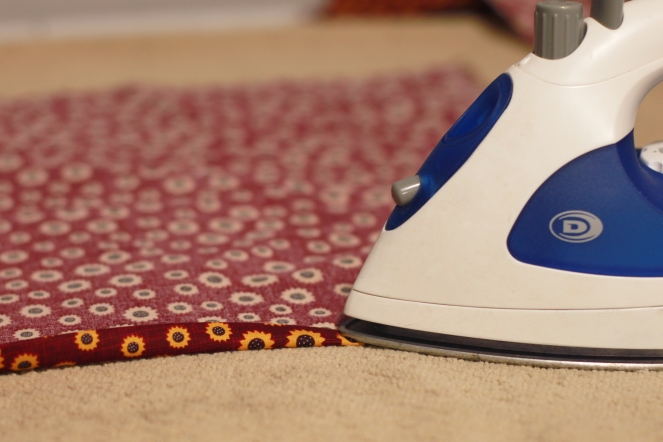
I’m also going to share this little tip my grandmother showed me. I feel like this is one of those things that’s so easy, but you don’t know until someone actually shows it to you. Instead of taking the time to roll and pin the seams before sewing, on a stiff fabric like this cotton, just press it up, then repeat it to double it over. Like…it’s so easy I feel really dumb for never having thought of it, so just in case you’re mostly self taught like I am and you hadn’t thought of this easy work around, I thought I’d share.
The next step was pinning the back and front together. Right sides together, make sure you pin the back sides on flat and overlapping to make the seamless sham.


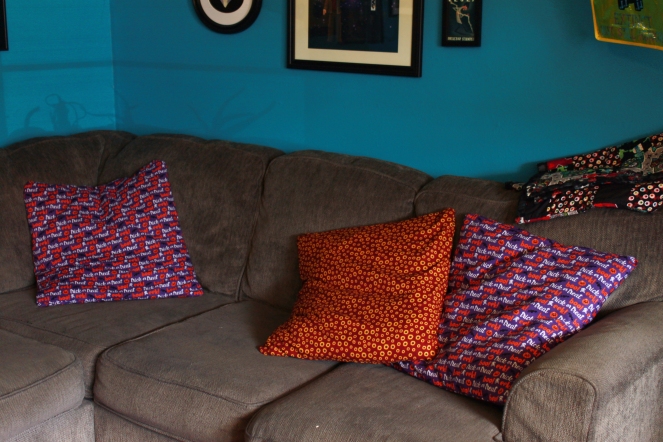
Sew up all the sides and BAM perfect, easy shams that really dress up my old nasty pillows!
I am so thrilled with how they turned out and how easy they were to make. I’d thought about adding cording on the edges, ruffles, ribbons, whatever, but honestly, they look really cute how they are and the amount of work and extra money that’d go into making them fancy doesn’t seem worth it.


What do you think?! I love them! They’re beautiful and festive and so. much. better. than they were before. I’m excited for the many more shams I will be making in the future.
